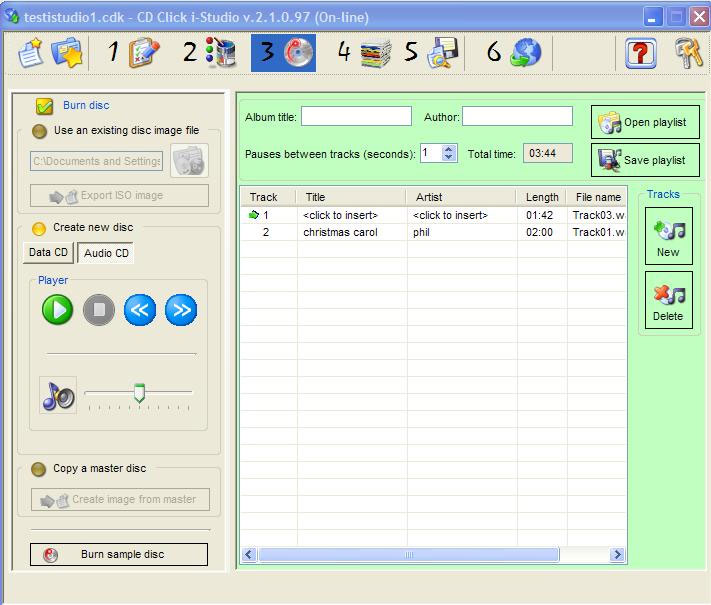
You get this windows only if you selected "CD" while in "project definition window" (step 1)
Click on the "Audio CD" option to start the CD-DA compilation.
Click on the "album title" to add the album title, Click on the "author" to add the author name. You need a compatible player to display these CD-TEXT information.
Click on the "new track" button to add the audio tracks to your compilation. Supported file types are: .mp3, .wma, .wav and .ogg. Once the track is in the track list, you can edit the "title" and/or the "artist" fields. You need a compatible player to display these CD-TEXT information. You can also change the track sequence by dragging the track to the position you desire in the list.
Click on the "remove track" button to delete the audio tracks from your compilation.
I-Studio allows you to to increase the duration of the pause between 0 and several seconds to meet your compilation requirements.
I-Studio allows you also to play any selected track if you have Windows Media Player® installed in your system.
Click on the "save play list" button to save your compilation in the .trk file.
Click on the "import play list" to import a previously saved play list. You can also import the play list by clicking on the "use an existing image file" button.
IMPORTANT: When I-Studio saves the play list, it saves only the links to the existing audio tracks and the CD-TEXT information.
If you desire to proof your project (audio tracks, CD-Text infos and pause between tracks, please click on the "Burn a sample disc" and burn your CD-DA disc.
Click on the packaging icon to select your preferred disc packaging.
Please be aware that i-Studio won't save the Audio CD compilation and the Audio Tracks till you save your project (step 5).


 Download CDClick i-Studio
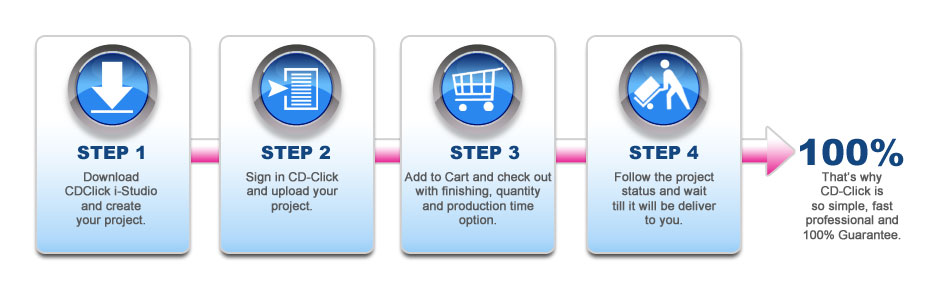